
Thomas Buckborough specializes in remodeling residences for homeowners who are passionate about their homes. Creating Living Kitchens is a specialty as is any space that reflects the owners specific taste, needs and lifestyle. Thomas is also an avid chef and wine master.
Do-it-yourself projects are all the rage these days. From the fun little knitted knick-knacks found on Pinterest to more involved home improvement projects, plenty of people have the confidence to take on these kinds of tasks.
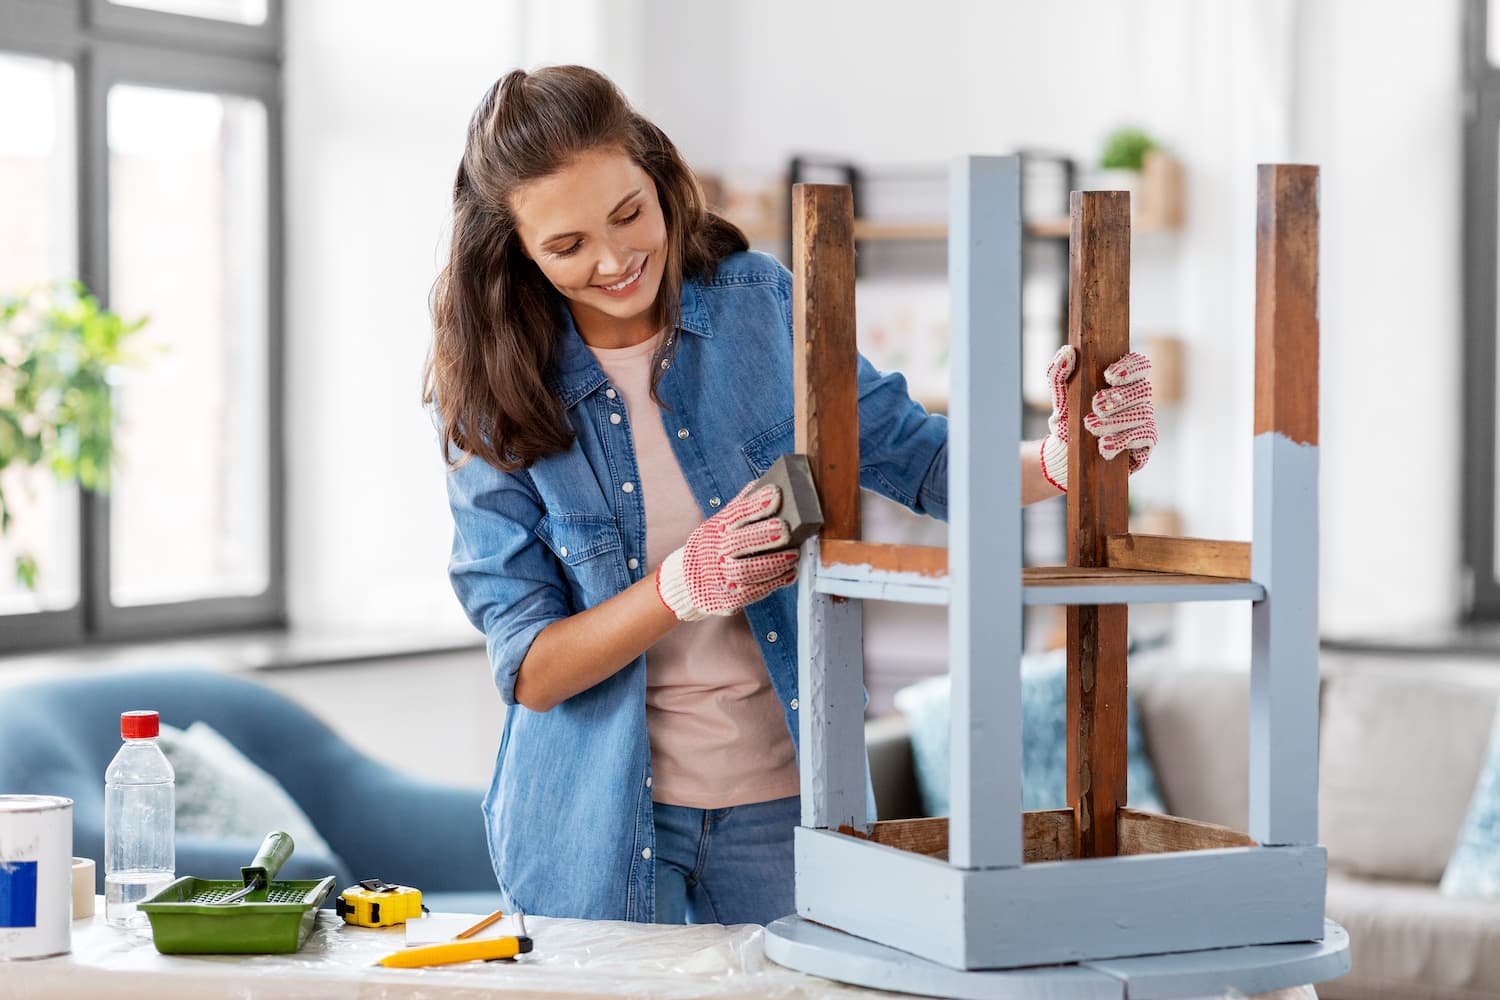
One of the more popular projects we’re seeing across social media channels like YouTube and TikTok is a DIY kitchen island since it goes great with a custom kitchen remodel design and can be done in as little as one day. Many homeowners attempt to build their own kitchen island because the entire project is:
- Fast
- Fun
- Easy
- Affordable
- Unique
- Accommodating
- A big accomplishment when you’re done!
Do you feel confident in your ability to construct a kitchen island? Keep reading this step-by-step guide to DIY kitchen islands to learn how.
Only Basic Tools Are Required 🧰
If you’re thinking about tackling a DIY project like the one seen above, don’t be discouraged by all the tools you’ll need. You likely already have most of them lying around the house; if not, the rest can easily be found at a home improvement store in your area. Here’s what you’ll need for your DIY kitchen island project:
- Drill
- Measuring tape
- Level
- Nail gun and nails
- Miter, table, or circular saw
- Sander and sandpaper
- Caulk gun
- Wood filler and glue
Once you have the proper tools and equipment to build a kitchen island, you can begin thinking about the overall design. Don’t be afraid to think outside the box to find fun, unique pieces and parts to construct the perfect DIY kitchen island.
You Can Stray Away From Stock Cabinets 🗄
Most of the pre-fabricated kitchen island kits you see online, in magazines, or on HGTV mimic the look of your typical cabinets. However, there are many other interesting items and pieces of old furniture you can upcycle to create a new kitchen island.
Here are some interesting DIY kitchen island ideas to get your creative juices flowing:
- Dressers
- Carts
- Wood pallets
- Wine barrels
- Bookshelves
- Old cabinets (kitchen, garage, filing, etc.)
- Windows and shutters
- Desks
- Tables
- Trunks and chests
The possibilities are endless when creating a kitchen island from scratch, so take some time to peruse your local thrift stores or antique markets before deciding what type of piece you want to use for your DIY kitchen island.
Time to Decide On Your DIY Design 🔏
Building a kitchen island is a great way to add more storage and prep space to your kitchen. Not to mention, it can be a fun and creative DIY project for you and your family to work on together. Before getting started, you should keep a few things in mind.
First, decide on the overall design of your island. There are many different ways you can go about this, so it’s important to take some time to think about what would work best in your kitchen.
Some factors to consider in DIY kitchen island designs include:
- Size
- Shape
- Storage needs
- Prep space needs
- Seating requirements
These are just a few things you’ll need to remember when designing your new kitchen island. Here are some questions you should ask yourself before diving into the construction of your kitchen island:
- What size island will work best with your current kitchen layout?
- Do you prefer pull-out drawers vs. cabinet doors?
- Are any appliances going to be built into the island?
- Will you want to install special features such as a slide-out garbage can?
- What materials do you want your kitchen island to be made out of?
- Are you moving any plumbing or electrical wiring?
- Will you need an overhang to add depth for more seating?
Once you have a general idea of what you want, you can begin planning the construction process. One of the great things about taking on a DIY project like this is that you can make it as simple or complex as you want.
If you’re short on time, opt for a design that doesn’t require too many steps or different materials. On the other hand, if you’re looking for a kitchen island that will really wow your guests, go all out with a more intricate design.
Here are a few clever kitchen island ideas to get you started:
- A Simple Kitchen Island: If you’re short on time and still want a stunning DIY kitchen island, opt for a design that uses reclaimed wood or an interesting piece of furniture as the base. From there, add some basic shelving and cabinets for storage, and voila! You’ve got yourself a beautiful kitchen island.
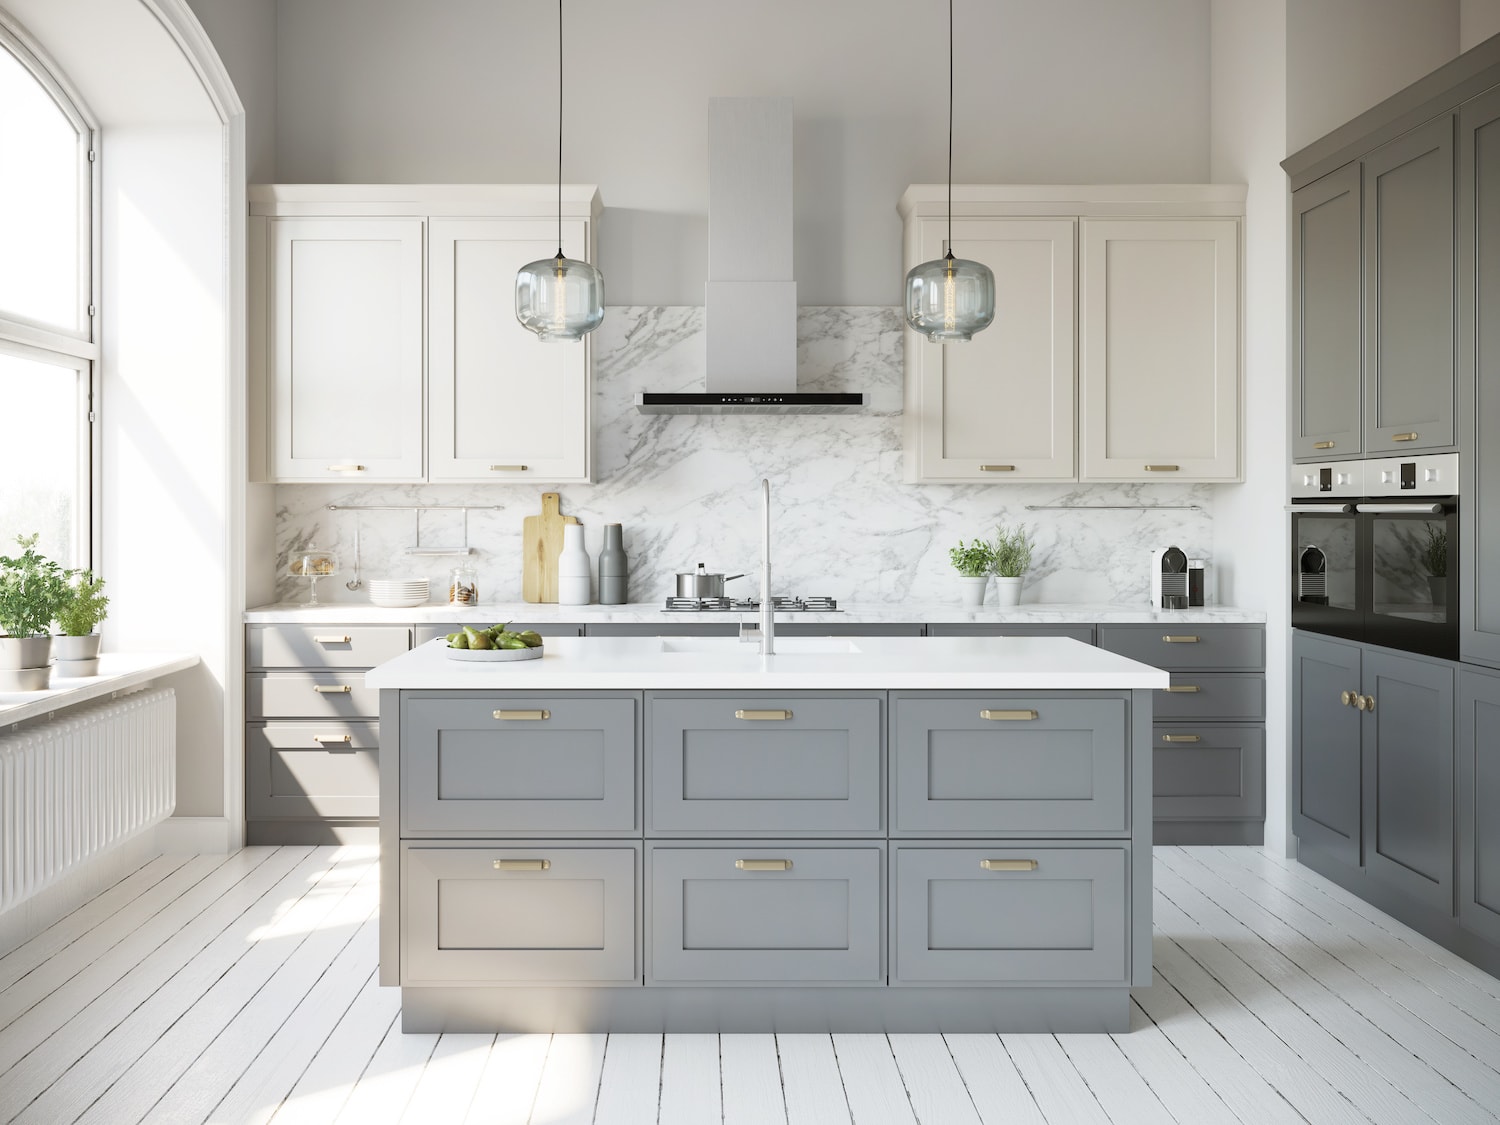
- A Kitchen Island with Seating: Add some extra functionality to your DIY island by adding seating! This is perfect for smaller kitchens where an actual table might not fit. Simply build or purchase some counter-height stools and attach them to the island. Add a few extra features like bookshelves or storage baskets underneath the seating area to really make the most of your space.
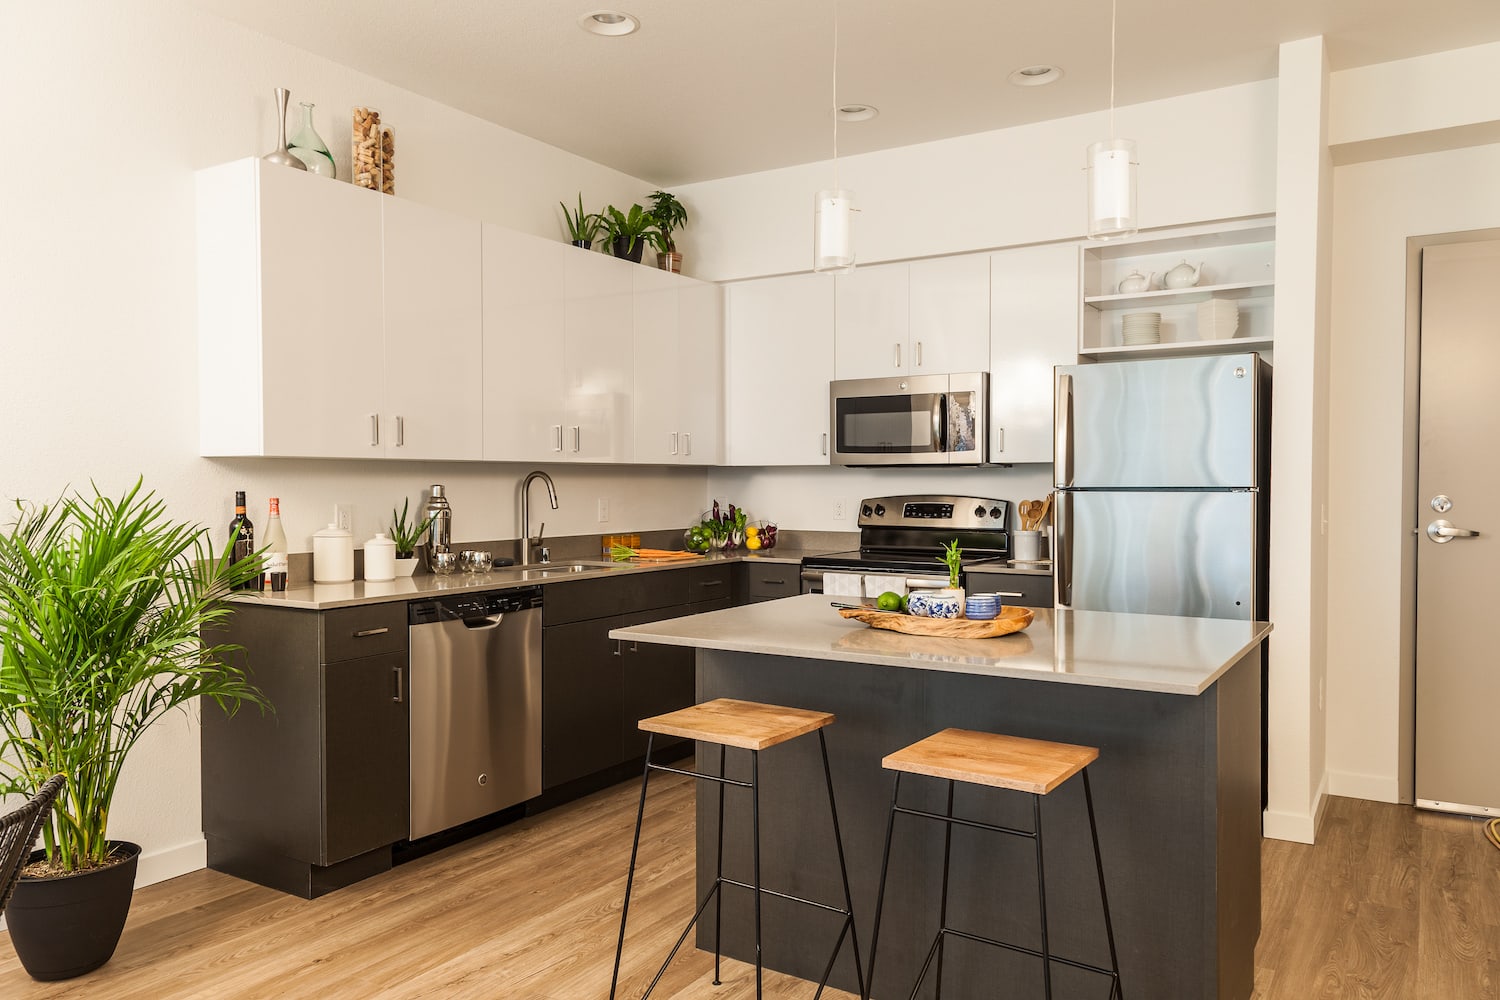
- An Island With More Storage: Maximize your kitchen’s storage space by adding some extra cabinets or shelving to your DIY kitchen island. This is perfect for larger kitchens that need all the storage they can get. Plus, it’ll give you a place to hide away all those pesky Tupperware lids!
- Kitchen Islands on Wheels: If you’re really short on space, consider building a DIY kitchen island on wheels! This way, you can easily move it around as needed and tuck it away when not in use. Plus, it’ll add a fun, vintage feel to your kitchen.
Steps for Building Your Own DIY Kitchen Island 👷🏼♂️
After asking yourself some important questions and settling on a design that works best for your needs, you can dive into your DIY kitchen island project. Look for an easy tutorial online and use these guiding steps to get started:
1. Take Measurements and Cut Your Pieces
Before cutting any wood, take measurements of the kitchen space to determine how large (or small) you want your island to be. Once you have your desired dimensions, use a saw to cut all your pieces to size. Ask a friend or family member for help if you’re uncomfortable using power tools.
2. Align and Attach the Island Base
Once all your pieces are cut to size, it’s time to start assembling the base of your island. If you’re using reclaimed wood or an existing piece of furniture, simply sand it down and put it in place.
If you’re upcycling your existing cabinetry or another piece of furniture, you’ll want to secure the separate pieces to each other to ensure nothing moves when you start installing the new countertop or other custom kitchen island features.
3. Add Extra Support for the Countertop
For kitchen islands with an overhanging countertop for additional seating, you’ll also want to consider installing additional support. This will help to ensure that the countertop doesn’t sag, crack, or break over time.
To do this, you can use spare pieces of plywood or stud wood to create additional framing that juts out from the island’s body. Cover these with your chosen material for the sides of the kitchen island, and you can create a little overhang for additional seating that is entirely secure.
4. Cover the Back and Sides of the Island
Once the main frame of your kitchen island is constructed, you can start covering the sides. There are many unique island materials you can utilize to finish off the outside, including:
- Shiplap
- Corrugated steel roofing
- Reclaimed barn wood
- MDF boards
- Upcycled siding
- Peel and stick tile
- Vintage wallpaper
5. Fill, Sand, Stain, and Paint
Now that the front, back, and sides of your DIY kitchen island are complete, it’s time to fill any holes or cracks, sand down the surface, and apply a stain or paint if desired. If you’re using reclaimed wood, you may not need to do anything beyond giving it a good cleaning.
Otherwise, follow the instructions on your paint, stain, or wood finish of choice and apply two coats evenly across the surface. Remember to protect your workspace with painter’s tape while the island is being painted.
6. Install the Countertop
After making sure the base of your island is sturdy and secure and all of the seams and nail holes are smoothed over, it’s time to install the countertop. If you’re using a pre-made or solid piece of countertop, simply place it on top of the base and secure it in place with screws.
For projects using reclaimed wood or another material, attach it to the base using a construction adhesive like caulk or wood glue and finish nails for added support.
7. Add Hardware, Place Appliances, and Install Interesting Features
Now for the fun part: adding all the features that will make your DIY kitchen island truly unique! If you decided to add shelving, a pull-out garbage can, or cabinets for storage, now is the time to install them. You can also replace the old hardware with something more interesting or modern.
If your DIY kitchen island will be used for food preparation, make sure to place appliances like a sink, microwave, or stovetop within easy reach. And finally, don’t forget to add any personal touches that will make the space your own. This could include hanging pendant lights, installing a backsplash made from interesting tile, or adding a fun pop of color with paint or wallpaper.
8. Clean Up
With everything stained and finished, and the features you want to be installed, your kitchen island is done, and you’re ready for clean-up. That includes removing any painter’s tape, sweeping and vacuuming dust, and wiping down the island’s sides and surfaces.
Once clean-up is done, you can officially say you did it! After following these steps, you should have a beautiful DIY kitchen island perfectly customized to fit your needs. Whether you use it for extra storage, meal prep, or as a place to gather with family and friends, we hope your new island brings you years of enjoyment.
Still not sure where to start with a custom-built kitchen island? You can get some great kitchen island ideas and see how it’s done in this helpful tutorial:
Remodel Everything Around Your New Kitchen Island 🆕
Now that you’ve got all the information and inspiration you need to start your DIY kitchen island project, what are you waiting for? Gather up your supplies, round up some friends or family to help, and get going on it today!
And if you feel like adding a kitchen island simply isn’t enough, you can also start an entire kitchen remodel project with a trusted home remodeling company. Contact Thomas Buckburough and Associates to learn more about how we can transform the whole room around your new DIY kitchen island.